The Safe-Wash Method & Car-Care Guides
How to wash a car without scratching it — the two-bucket method, safe PSI, foam cannons and the rest, explained plainly with the numbers.
Here is the uncomfortable truth that reorganizes everything else: most of the fine scratches and swirl marks in your paint didn’t come from the car wash down the road, a stray branch, or bad luck. They came from how you washed the car.Every time a mitt drags a piece of grit across the clear coat, it leaves a tiny scratch. Do that a few hundred times over a few years — which is exactly what a sponge and a single bucket of dirty water do — and you get the hazy, spider-webbed look that shows up under direct sun. The good news buried in that is simple: if technique causes the damage, technique can prevent it. You don’t need expensive gear so much as the right method, and that’s what these guides are about.
The method, start to finish
A safe wash is a sequence, and each step exists to reduce the number of times grit gets dragged across your paint. It goes like this:
- Pre-rinse. Before anything touches the car, you rinse it down to knock off the loose dirt, dust and sand sitting on the surface. Grit you rinse away now is grit that never reaches your mitt.
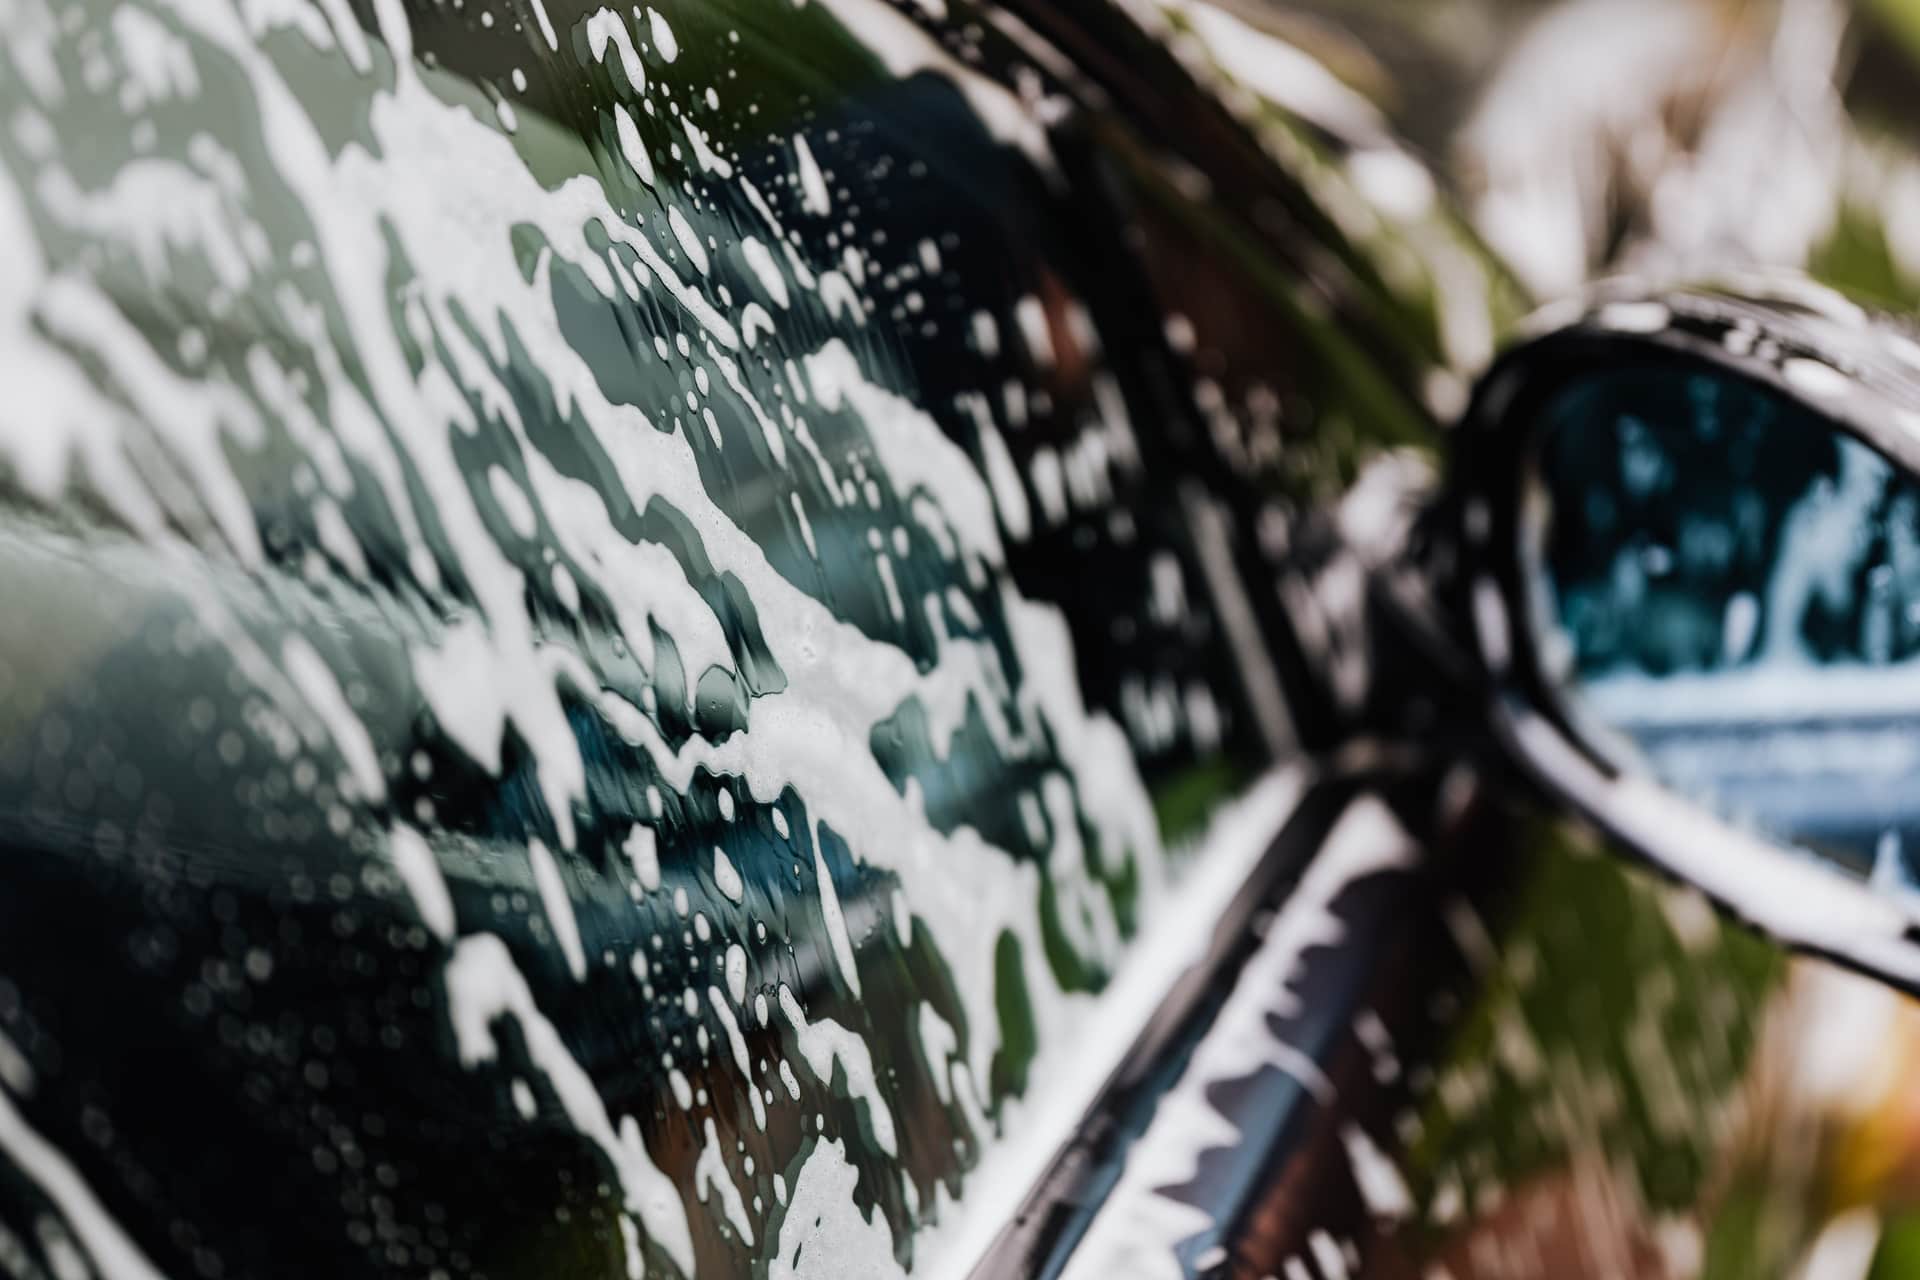
- Foam pre-soak. You lay a thick blanket of foamover the whole car and let it dwell for a few minutes. The soap softens and lifts more grime, and a lot of it slides off with the foam — again, before you make contact. This pre-soak is the single biggest scratch-reducer in the whole routine.
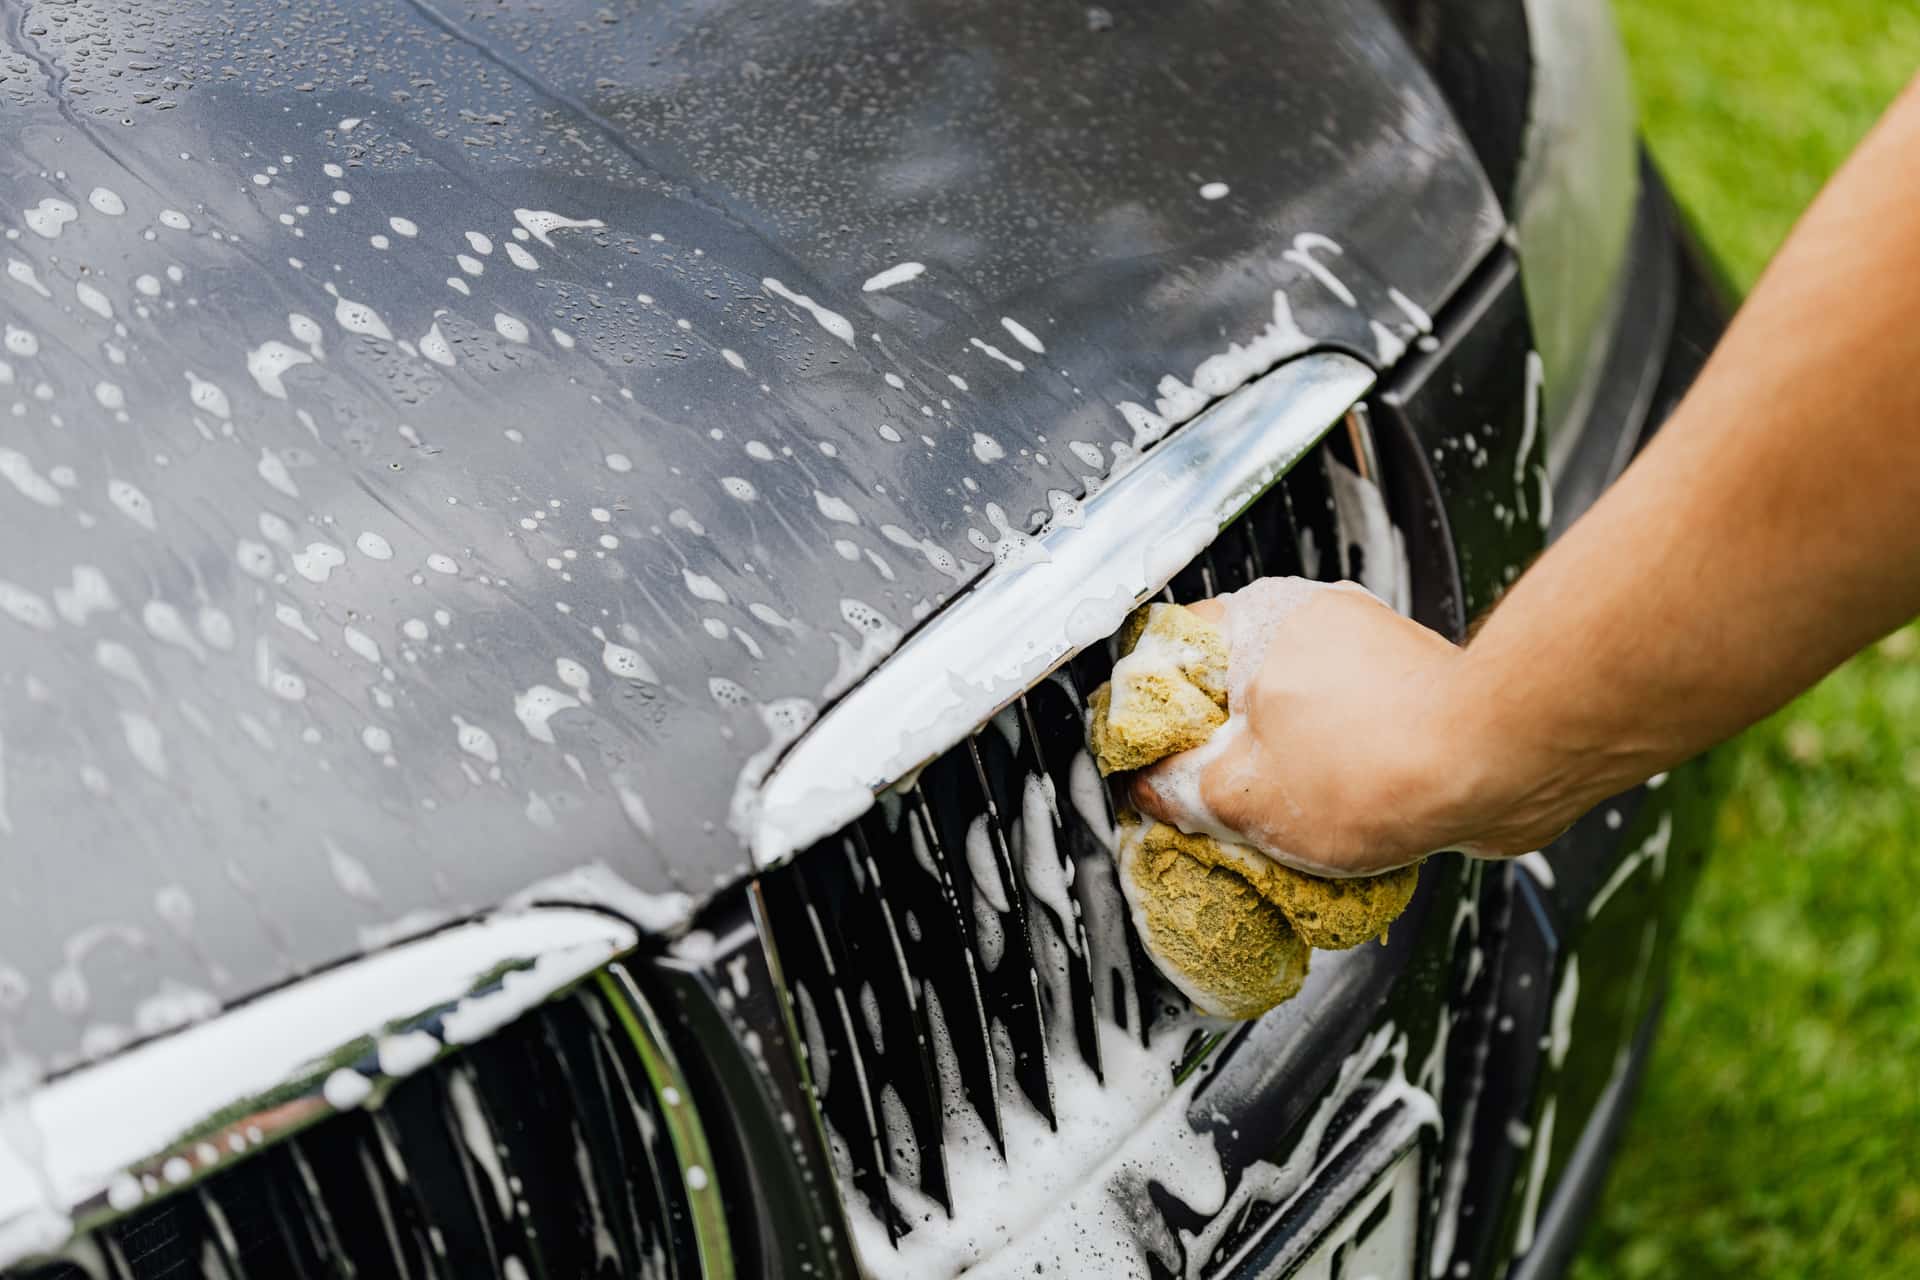
- Two-bucket contact wash. Now you touch the paint, using a plush wash mitt and two buckets— one with soapy wash water, one with clean rinse water. You rinse the mitt in the rinse bucket after every panel so the dirt you just picked up doesn’t go back into your soap. A grit guardin the bottom of each bucket traps that dropped dirt so it can’t swirl back up onto your mitt.
- Rinse. A final rinse sheets the last of the soap and loosened dirt off the panels so nothing dries onto the paint.
- Dry with a plush towel.You dry with a big, soft microfiber towel — blotting and gently pulling it, never scrubbing — because a stiff or dirty towel at this stage undoes the care you just took.
Notice the pattern: every step either removes grit before contact or keeps grit away from the surface during contact.That’s the entire philosophy. There’s no magic product in it — a cheap mitt used correctly beats a premium one used with a single dirty bucket. The full walk-through lives in the safe-wash method guide, and the bucket technique gets its own detailed breakdown in the two-bucket method guide.
Why pressure is a safety spec, not a power spec
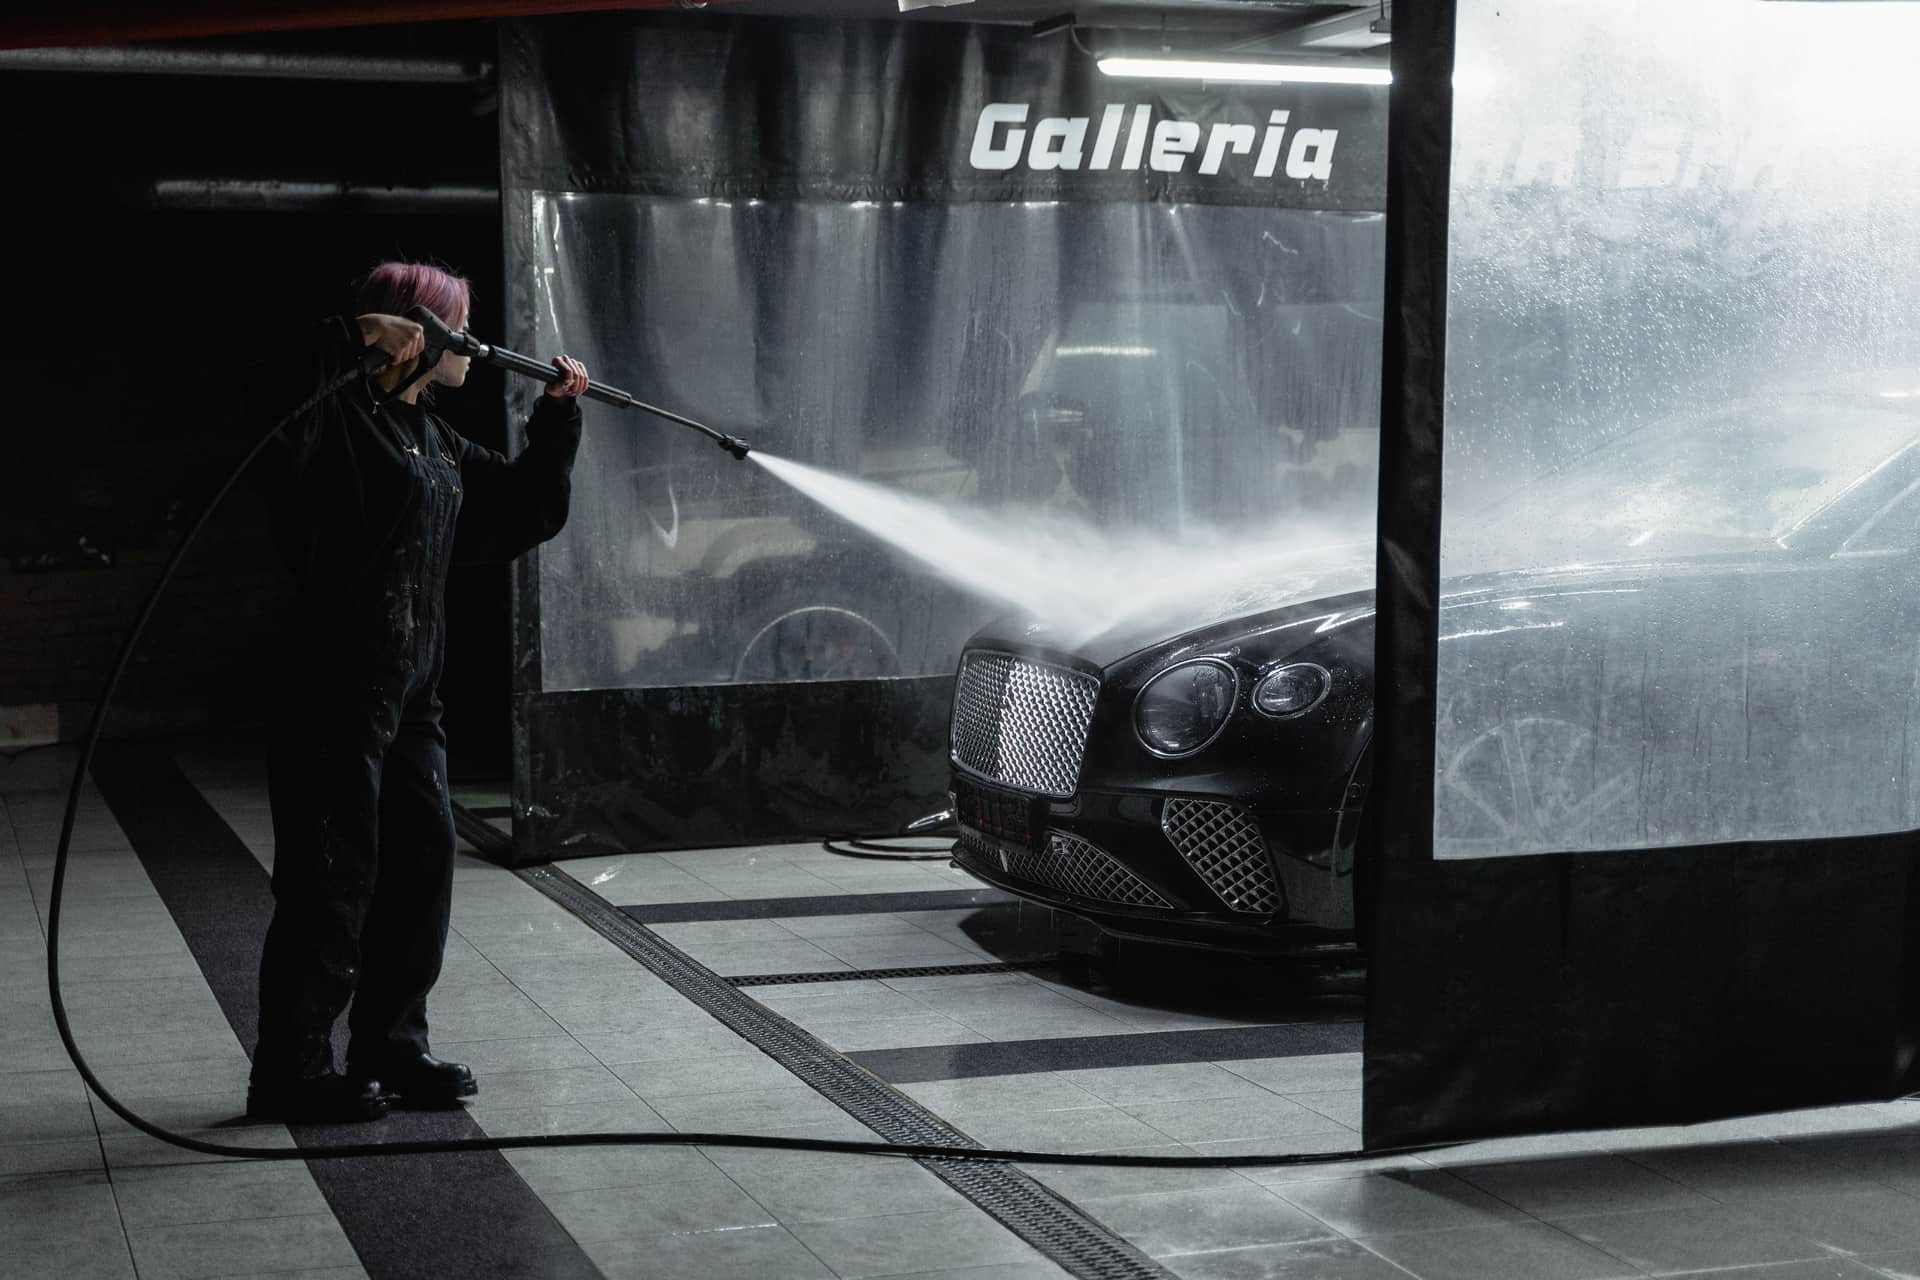
The pressure washer’s job here is modest: rinse loose dirt, then blast foam off. That job is done comfortably — and more safely — at moderate pressure. Detailer guidance generally puts the safe window at roughly 1,200–1,900 PSI. Go higher and you’re buying risk, not results, because a narrow tip held too close is how you actually etch clear coat or lift chipped paint. Three habits keep it safe: use a wide nozzle(a 40° or 25° tip, never the red 0° pencil jet), keep your distance (about two feet, then close in only if needed), and keep the wand moving. More flow (GPM) does more useful work than more pressure, because water volume floats grit away rather than driving it in. The full numbers, nozzle chart and standoff distance are in the safe-PSI guide.
Where to start
You don’t have to read all of these, and you certainly don’t have to buy everything at once. If you read one page, make it the safe-wash method— it ties the whole sequence together and tells you what actually matters. From there:
- New to the bucket routine? The two-bucket method is the highest-value habit you can build, and it costs almost nothing.
- Shopping for a washer or worried about damaging paint? Read safe pressure-washer PSI for cars before you buy.
- Ready to add the foam step? Learn how to use a foam cannon— the soap ratio and setup that gets you thick, clinging foam.
The rest of the guides below go deeper on the pieces — nozzles, snow foam, ceramic sprays, and what actually separates a detail from a wash. Take them in whatever order fits what you’re doing this weekend.
Everything in Guides
The Safe-Wash Method: Wash a Car Without Scratching It
The full method for a scratch-free wash — pre-rinse, foam, two-bucket contact, dry. Start here.
The Two-Bucket Method, Step by Step
Why two buckets stop swirls, and the exact six-step routine — with a wash bucket, a rinse bucket and grit guards.
Safe Pressure Washer PSI for Cars
The safe PSI and GPM window for car paint, the standoff distance, and the nozzle to use — with a quick reference table.
Pressure Washer Nozzles Explained
What each colored nozzle tip does, and the only ones you should point at car paint.
How to Use a Foam Cannon
The soap-to-water ratio, how to set the cannon, and how to get thick foam that actually clings.
What Is Snow Foam (and Do You Need It)?
What snow foam is, what the pre-soak actually does for scratch prevention, and when to skip it.
How Long Should You Leave Snow Foam On?
Five to ten minutes — but the real rule is never letting it dry, and the sun moves that deadline forward.
Car Detailing vs a Car Wash: What's the Difference?
What separates a detail from a wash, what each one costs, and which you actually need.
What Is Car Detailing (and What Does It Cost)?
A plain-English breakdown of what detailing includes, the tiers, and typical price ranges.
Do Ceramic Sprays Actually Work?
What a spray ceramic really does, how long it lasts, and whether it's worth it versus wax.
How Often Should You Wash Your Car?
A realistic schedule by climate and season — and why washing more often is only safer if you wash correctly.
How to Dry a Car Without Scratching It
Drying is where a careful wash goes wrong. The towel technique, the blower option, and what never to do.
How to Remove Water Spots from Car Paint
The three kinds of water spot, which ones wipe off, which ones have etched — and how to stop them coming back.
How to Wash a Car in Winter
Road salt is the real enemy. How to wash safely in the cold, what temperature is too cold, and what to skip.
Foam Cannon Not Foaming? How to Fix It
The six causes of thin foam, in the order worth checking — dilution, the orifice, flow rate, water, soap and setup.
How to Remove Swirl Marks from Car Paint
The damage this site is named after, and the only thing that actually removes it. Compound vs polish, hand vs machine, and the test spot rule.
How to Clay Bar a Car
The step between washing and protecting. The plastic-bag test that tells you if you need it, and the lubrication rule that makes it safe.
How to Wax a Car Properly
Thin coats, cool panels, and the haze test. The application mistakes that waste half a tub of wax and make it hard to buff off.
How to Apply a Ceramic Spray Coating
Five minutes of work that fails if you skip the prep. Panel-by-panel application, the high-spot problem, and the 24-hour rule.
Are Automatic Car Washes Bad for Your Paint?
Brush, soft-cloth and touchless are three different risks, not one. An honest answer, including when the tunnel is the right call.
Is a Foam Cannon Worth It?
It does not clean the car — that is the misunderstanding. What the pre-soak actually buys you, and the three people who should skip it.
How to Wash a Black Car Without Swirls
Black paint is not softer — it just hides nothing. The technique changes that matter when every mistake is visible.
How to Clean Microfiber Towels
A contaminated towel is sandpaper. The wash routine that keeps microfiber absorbent, and the two products that ruin it permanently.
How to Store a Pressure Washer for Winter
Trapped water expands and cracks the pump — the most expensive part. Twenty minutes in autumn that saves the machine.
How Does a Foam Cannon Work?
A brass orifice, the Venturi effect and a mesh screen. Understanding the mechanism is what tells you why your foam is thin — and whether a new cannon would fix it.
Can You Use Dish Soap to Wash a Car?
It will not dissolve your paint. It will strip every bit of protection off it — and the honest answer has one narrow exception worth knowing.
How Often Should You Wax a Car?
Not on a calendar — on the water. The beading test that tells you when protection has gone, and realistic intervals by product type.
How to Maintain a Ceramic Coating
A coating is not maintenance-free, it is maintenance-different. The wash routine that gets you the years you were promised.
12 Car Washing Mistakes That Scratch Paint
Almost all swirl marks come from a handful of habits, not from bad luck. The mistakes worth unlearning, in the order they do the most damage.
How to Wash a Car Without a Driveway
Apartment parking, no outside faucet, and a landlord who would notice. Four methods that work without a hose, ranked by how safe each is for your paint.
How to Wash a Car in Hot Weather
Heat dries soap and water onto the panel before you can remove it. The section-by-section method that stops a summer wash spotting the paint.
How to Maintain a Pressure Washer
Five minutes of habit that decide whether an electric washer lasts two seasons or ten. The inlet screen is the part nobody checks.
How to Clean a Foam Cannon
Dried soap in the mesh filter and the brass orifice is why a cannon that made thick foam now makes mist. The two-minute flush, and how to rescue a clogged one.
Iron Remover vs Clay Bar
Not alternatives: one dissolves embedded metal with no contact, the other shears off what is stuck on top. Why chemical decontamination goes first.
How to Clean Brake Dust Off Wheels
Loose dust rinses off; the grey film that will not shift is metal welded into the finish. The order that works, and why scrubbing harder ruins clear-coated rims.
Compound vs Polish
Both are abrasives. One cuts fast and can leave haze, the other refines and restores gloss — and the labels confuse everyone because the industry uses the words loosely.
How to Do a Rinseless Wash
One bucket, under two gallons and no hose — with a dirt threshold you must respect. The towel-per-panel method and the published dilutions.
What Order to Detail a Car
Wheels before paint, decontamination before correction, protection last. The sequence that stops you doing the same job twice — and the three places people invert it.
How to Apply Tire Shine
Sling onto fresh paint and a mottled sidewall both come from the same two mistakes. The applicator-pad method, the published dry times, and why gels and aerosols need opposite handling.
How Often Should You Clay Bar a Car?
There is no interval — there is a test. The plastic-bag check that answers it in ten seconds, and why claying on a schedule removes clear coat you did not need to lose.
Can You Pressure Wash an Engine Bay?
Yes, and a wide fan tip puts less water in the bay than a garden hose does. The tip, the standoff distance, the four things to cover first, and the drying step that matters most.
How to Clean Wheel Wells
The dirtiest part of the car and the one that actually rusts. The wet-dwell-agitate-rinse loop, how to tell when you are finished, and the one tool that makes it quick.
How to Remove Tree Sap From a Car
Sap is not a cosmetic problem — it shrinks and pulls on the clear coat as it hardens. The solvent-on-the-towel method, the dwell limits the makers publish, and when to reach for clay instead.
How to Remove Bird Droppings From a Car
Plain water will not shift uric acid and a quick detailer seals it in. What the makers publish about how fast damage happens — and the research that says acid is not even the main culprit.
Can You Wax Over a Ceramic Coating?
You can, and it is almost always the wrong move — a wax masks the hydrophobics you paid for. What to top a coating with instead, and the one case where wax wins.
Does Pressure Washing Remove Wax?
Cold water at a sane distance does not strip protection — what strips it is the chemical you put through the machine, the heat, and the nozzle you chose.